Social login
The feature will appear in version 2.9
Authorization via social networks is a convenient tool for interacting with users, which allows you to save time on the registration and login procedure.
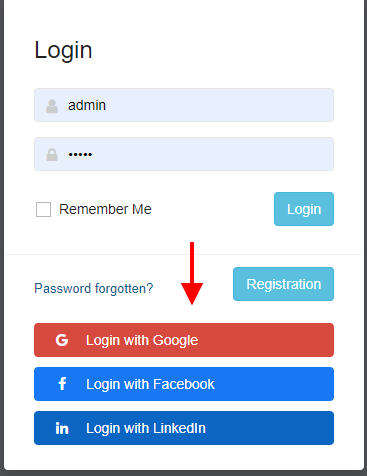
To enable this feature, go to the "Settings - Login Page - Social login" page.
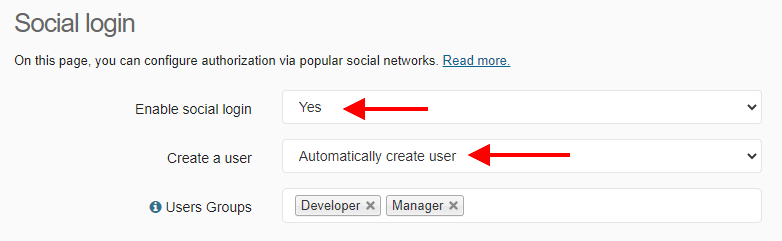
In the "Enable social login" option, set the value to "Yes".
The value "Use social login only" hides the standard login page and the user can only use login via social networks.
You can forcibly disable authorization via social networks by adding the following code to config/server.php
define('CFG_ENABLE_SOCIAL_LOGIN',false);
The "Create User" option allows you to automatically create a user in the app or redirect them to a public registration form.
"User Group" - configure the access group that will be assigned to the user during automatic registration.
Next, select the social networks that you plan to use and fill in the required fields.
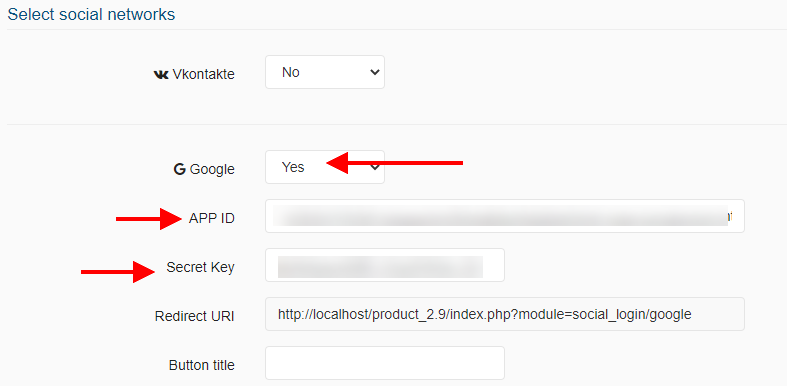
All social networks have similar settings:
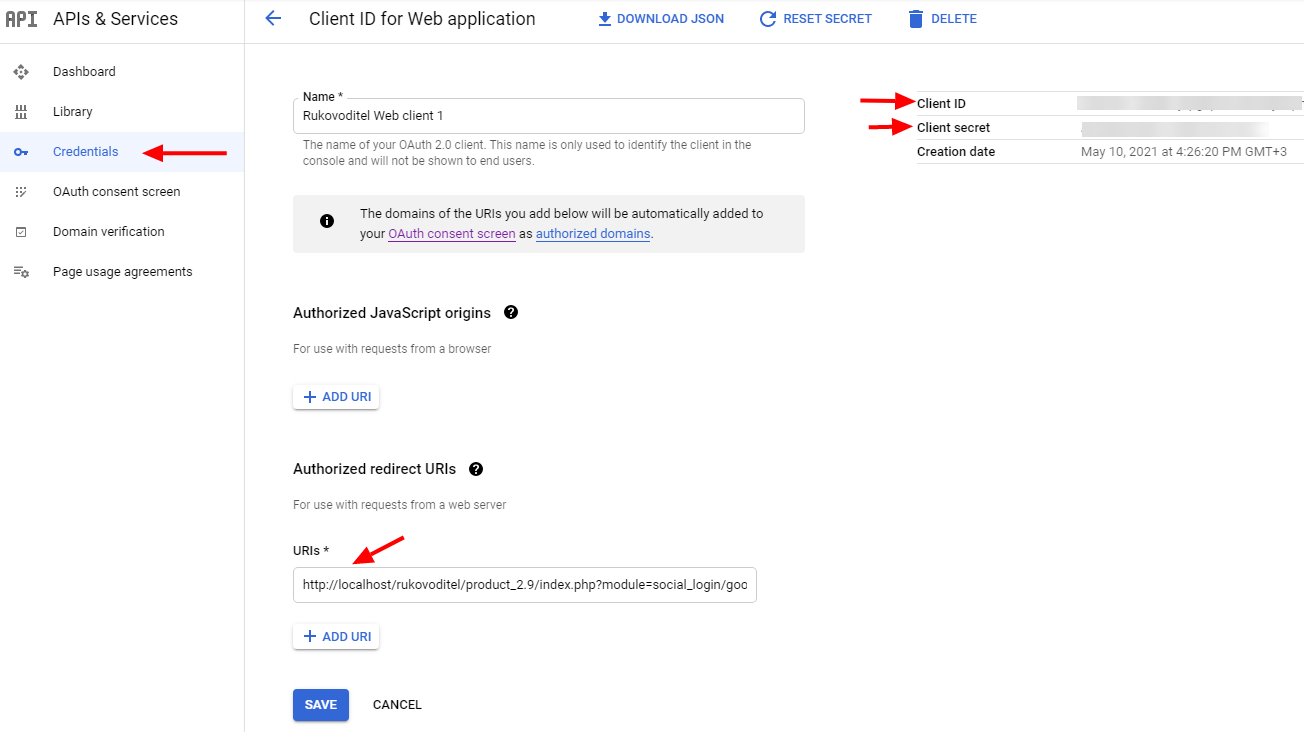
Application ID (Client ID) - the ID of your application registered in the social network
Secret key (Client secret) - the key used to verify the login
Redirect URI - this link must be specified in the settings of your app in the social network. After authorization, the user will be redirected to this link.
How to get the application ID and Secret key from the social network you need can be found in the documentation for each social network. There are also many step-by-step instructions on the Internet.
Go to Credentials page where you can create Web application and get Client ID and secret: