XML Import
You can use this feature to import data from an xml file to the application. You can import data to any application entity. If the xml file is available via a link, you can import it automatically.
Where to start?
Let's look at the import operation using a specific example. There is an xml file with clients data and our task is to import the data into the Clients entity.
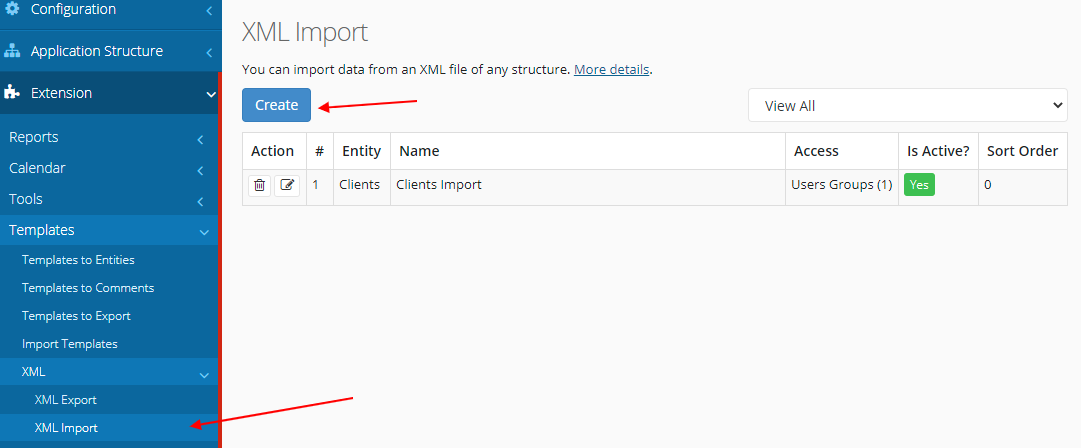
Go to the "Extension - Templates - XML - XML import" page and create a new template.
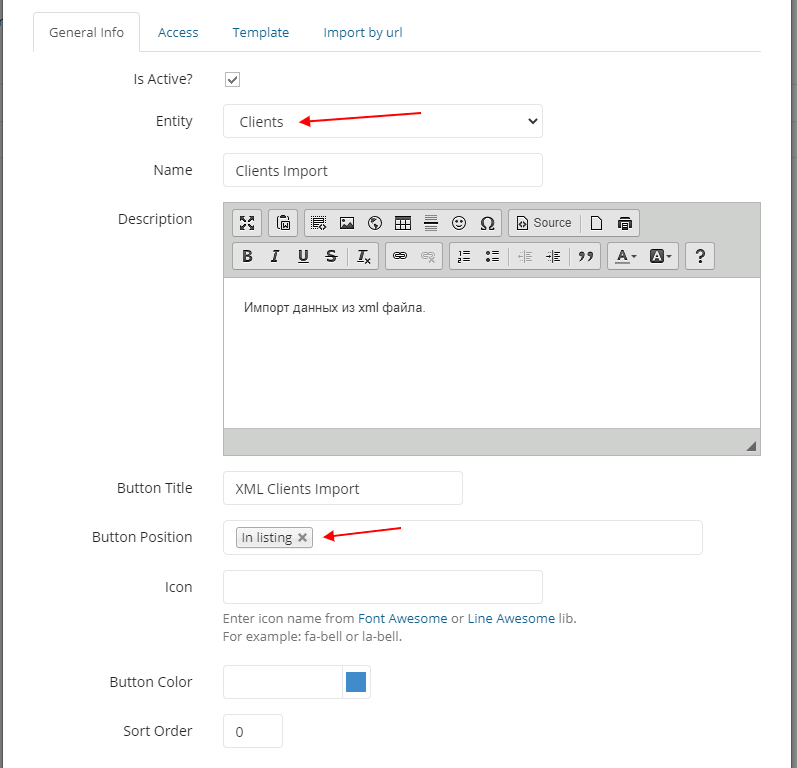
On the "General Info" tab, select the entity to import to (in our case, the Clients entity). If you want to import manually, configure the button location.
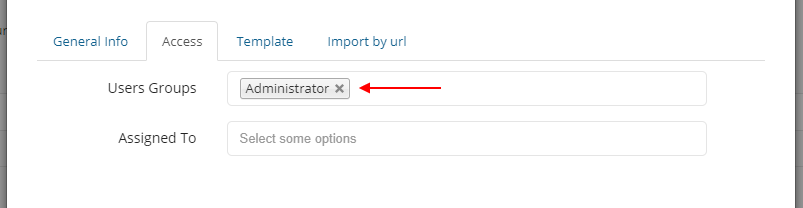
On the "Access" tab, configure access to the import button.
Setting up a template
On the "Template" tab, you configure the relationship of data from an XML file to fields in the application.
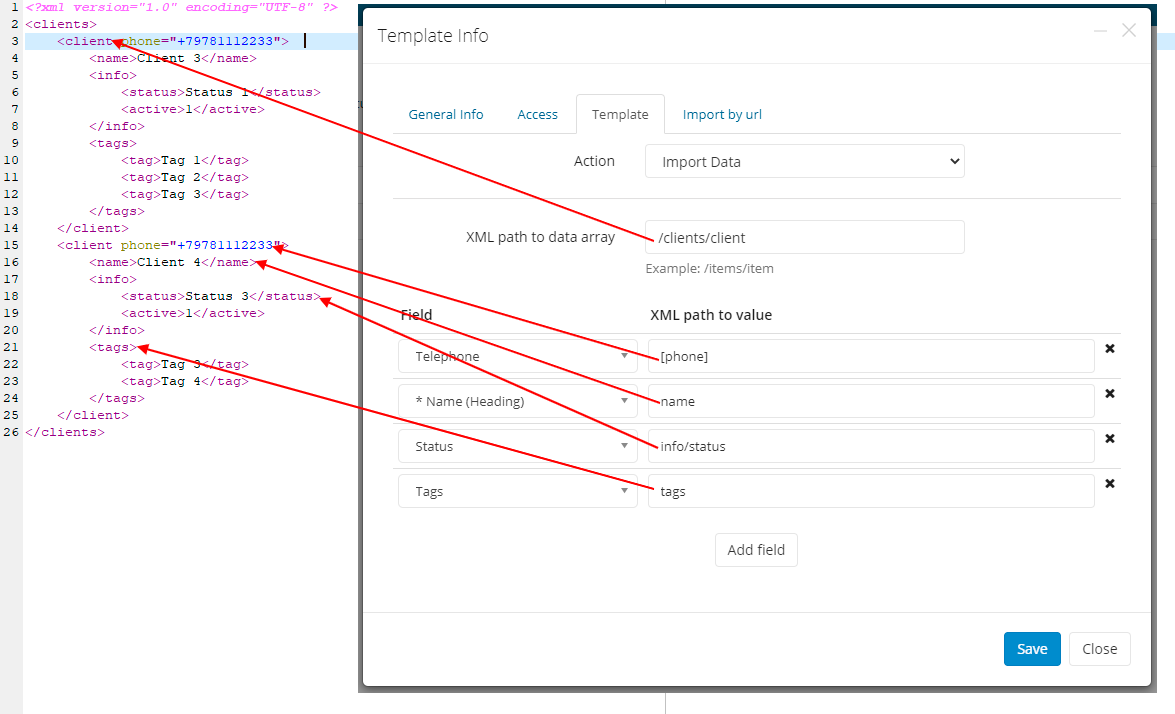
XML path to data array - is the actual path to the data tag. In our example, we have a main <clients> tag and each client is enclosed in a <client> tag. Therefore, the path to customer data will be /clients/client
Click on the "Add field" button and add the required fields for import. Let's look at all the fields from our example:
Telephone - data about the phone is passed as additional parameters to the main tag <client phone= "+79781112233 "> (There may be several such parameters). To extract such a parameter, specify the parameter name in square brackets [phone].
Name - is a simple input field. In an xml file, it is stored inside the <name> tag without any parameters. Specify the XML path to the value name.
Status - the status values are stored in the <status> tag which is nested in the <info> tag. In this regard, we specify the path to the value info/status.
Tags - is a list with multiple values to choose from. The value is stored in the <tag> tag which is nested in the <tags> tag. For this type of field, specify tags as the path to the value. The program will automatically collect all values from nested tags.
Update data
To update data from an xml file, select "Update data" in the "Action"option. Then select a unique field to update the data for. And specify the path to the value in the xml file.
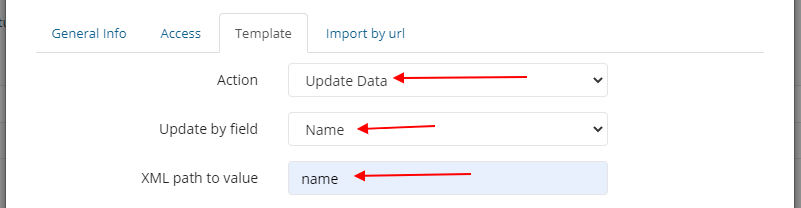
In our example, we specify that the update will occur in the Name field. Thus, the program will search for a record in the database where the Name is equal to the value from the name tag, and if such a record exists, it will be updated.
Import
After all the settings, go to the list of records and click on the "Clients Import" button.
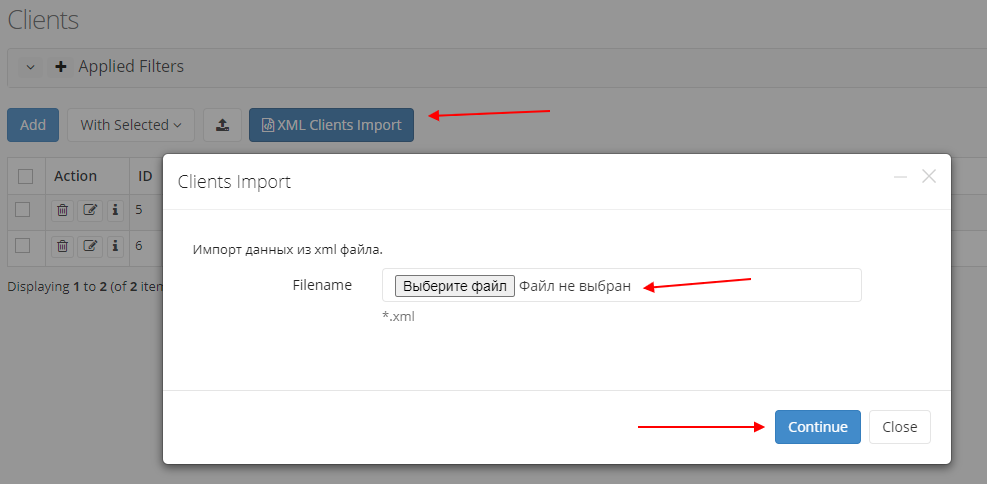
In the confirmation window, select the xml file to import and click "Continue".
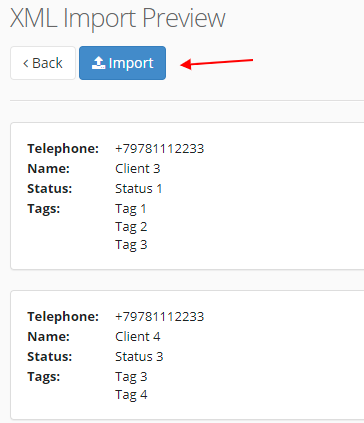
On the preview page, we check the correctness of the data to import and click on the "Import" button. If the XML path to the value is specified incorrectly in the settings, the field value will be empty.
Automatic import
If an xml file with data is available via a link, data from the file can be imported automatically by specifying a link to the file in the template settings.
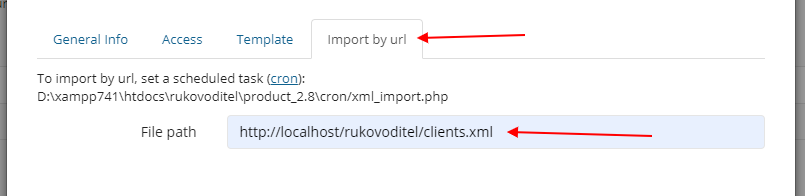
Then, in the control panel of your server, set a scheduled task (cron) to the file cron/xml_import.php. The program will automatically take data from the file and import it into the system.