Mail Integration
This functionality is designed to connect one or more email accounts. You can check your mail, reply to emails or create new emails. It is also possible to connect the mail account with the entity. You can create linked records manually or automatically.
Before using this feature, you need to set a scheduled task (cron) that will check emails on the server. Go to the mail Integration/Settings page where you will find the path to the cron.
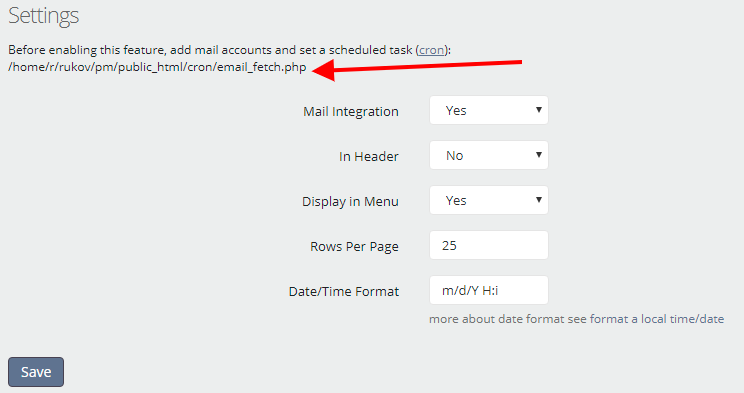
Please note: cron will check emails with the UNSEEN flag (unread messages). On this page you will also find a number of settings for displaying emails in the application.
After installing the scheduled task, go to the Mail Integration/Mail accounts page and add a mail account. You can connect multiple email accounts.
Please note: for one execution of the cron, only one mail account is checked.
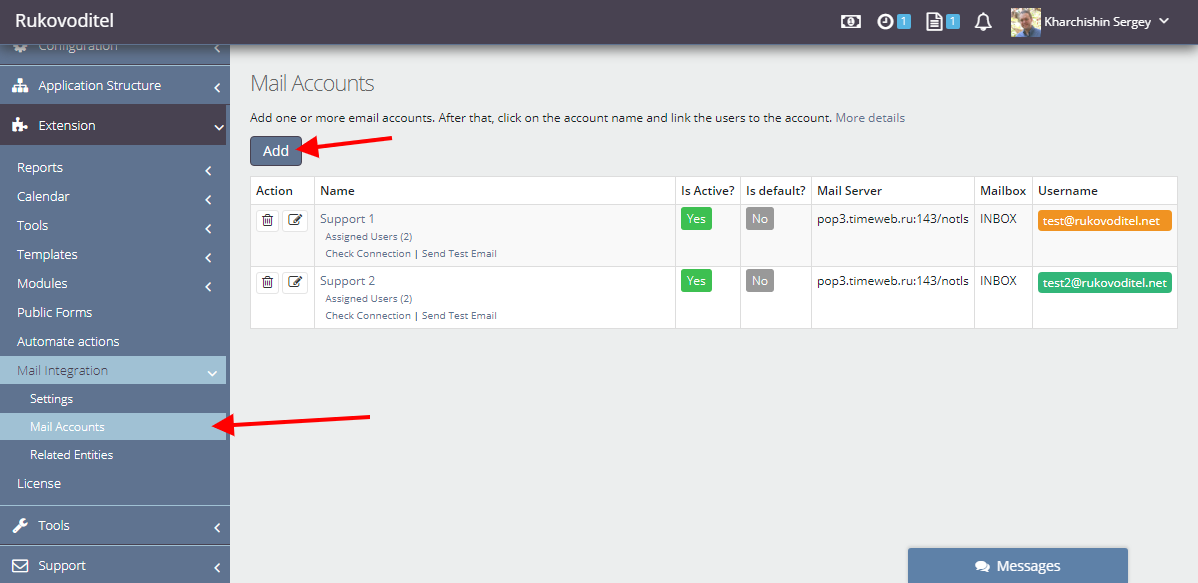
In the form, you have the ability to set up receiving mail, sending mail, and automatically responding to a new email.

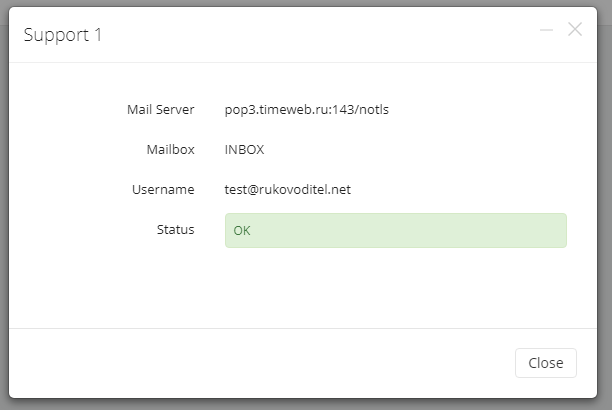
Connection settings for each server are different, so check them in the server support service. SMTP is recommended for sending emails. After adding a mail account, click on the links "Check connection" and "Send test email". If the settings are correct, the check status will return OK. Otherwise, you will see an error message.
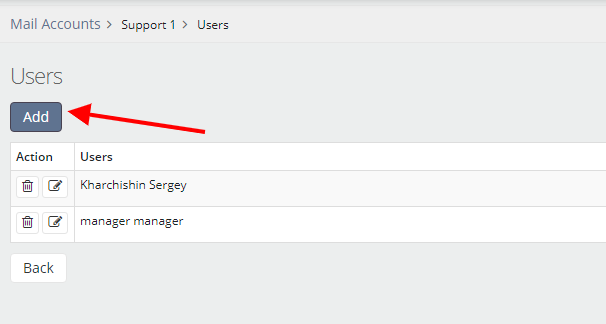
Assigned Users
After adding mail accounts, you need to assign users to the mail account. Click on the "Assigned users" link and add users.
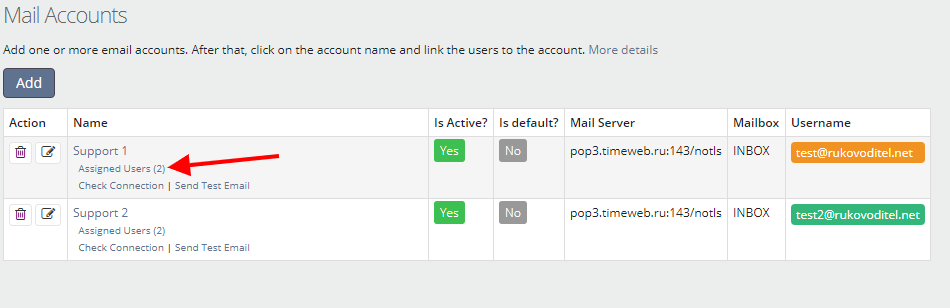
Assigned users will have access to the Inbox page and will be able to check and reply to emails.
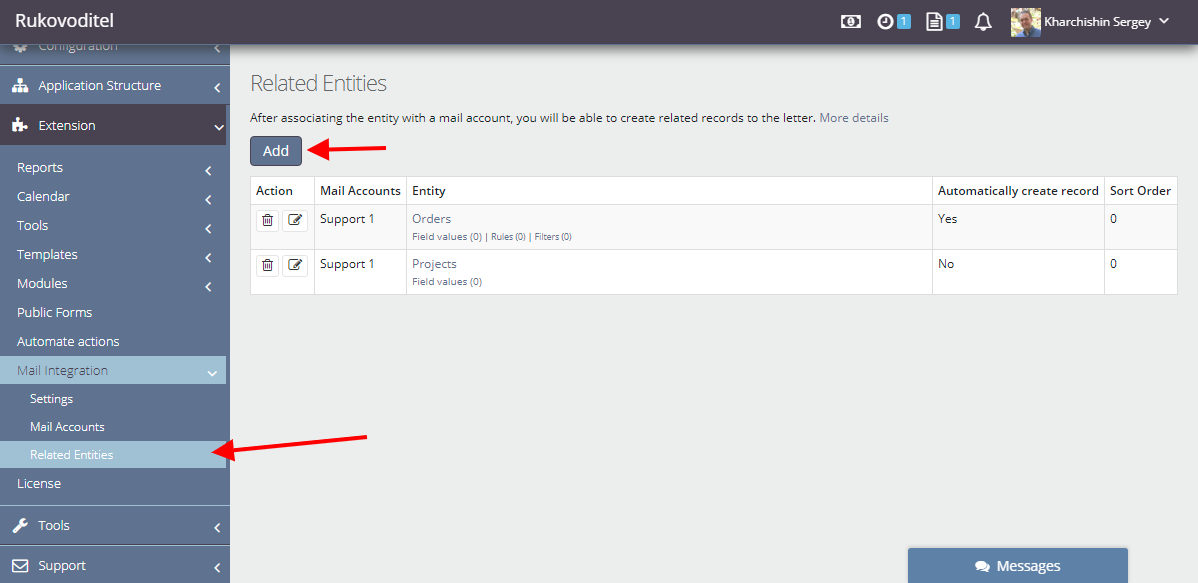
Link entities with an email account
This feature allows you to create records, such as tasks or queries, directly on the email page. Records can be created manually or automatically.
Go to the Mail Integration/Related entities page and add a link between the mail account and the entity.
Note: you can associate a single email account with multiple entities.
In the form, on the "Information" tab, select the mail account and entity that you want to link.
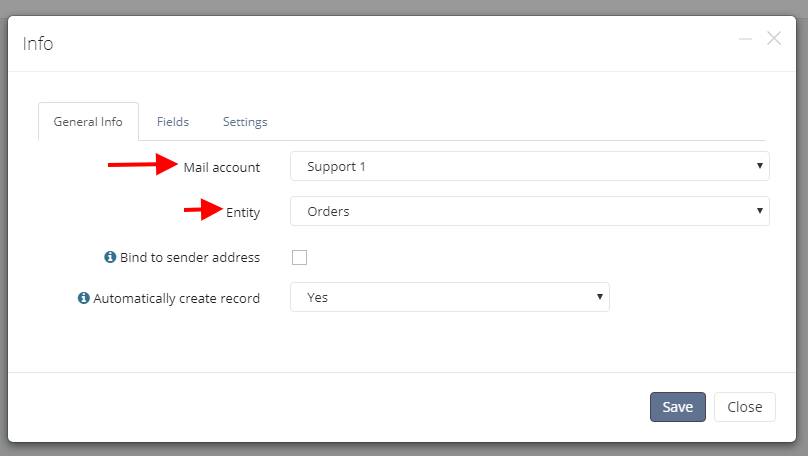
If the Automatically create record option is selected, the associated record will be created automatically when a new email is received. Because emails are grouped by Subject, a new record will only be created for the first email in the discussion. In next replies to the letter, the record will not be created automatically.
Note the option to Bind to sender address . By default, the created record is bound to a specific letter and is displayed only on its page. If you select the Bind to sender address option, the created record will be displayed in all subsequent emails of this sender. This option will be useful if there is a need to display the client's personal data (address/phone number) in all his subsequent letters.
On the Fields tab, configure the transfer of data from the message to the appropriate fields in the entity.

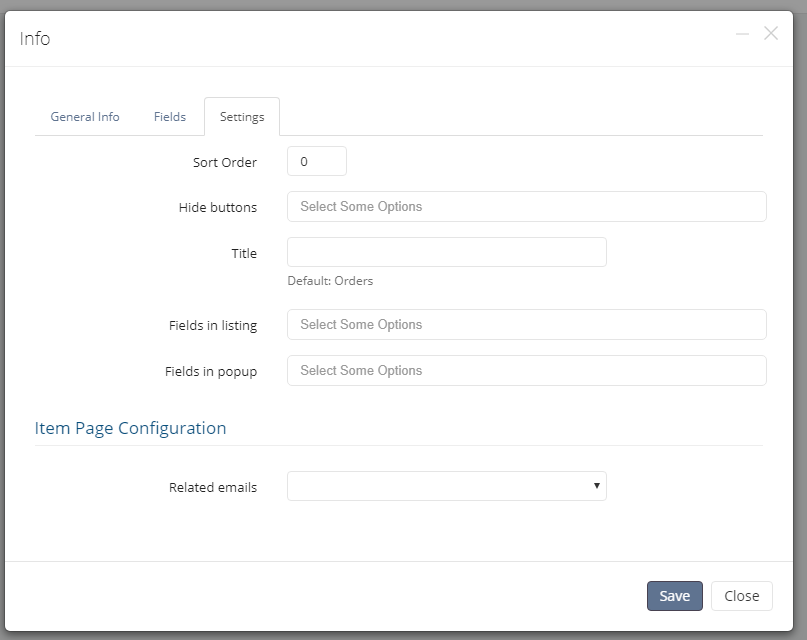
On the Settings tab, customize the appearance of the list of related records.
After setting the associated record, pay attention to options such as: field values, rules, and filters.
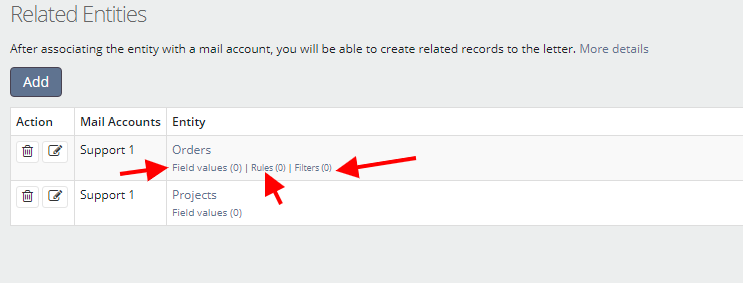
Field values
On this page, you have the option to set the field values for the record that will be created automatically.
Rules
By default, records are created for any emails. On the "Rules" page, you can specify in which case you want to automatically create a record. For example, you can create a record only for emails from a specific recipient, or if the email contains specific words.
Filters
Filters allow you to set the values of record fields depending on the filter. For example, if the letter comes from a specific recipient, you can assign the appropriate performers to the record.
Inbox
After completing all the settings, go to the Inbox page. Here you will be able to manage the emails and related records.
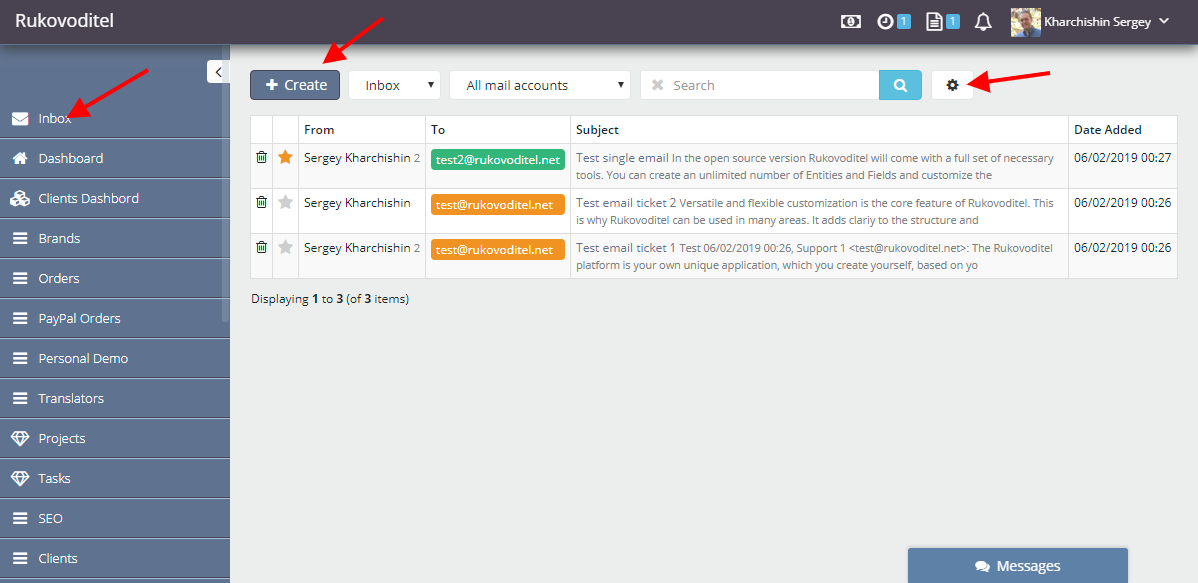
Please note: the Inbox page has its own spam filters.
The page of the letter is as follows:
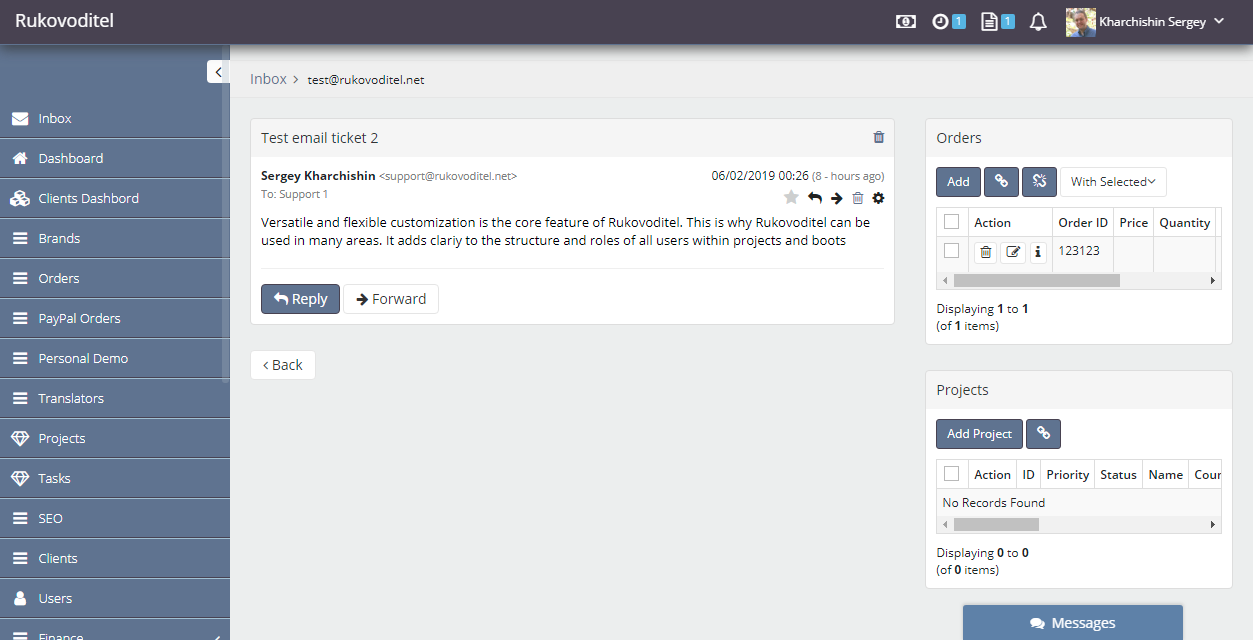
You have the opportunity to reply or forward the letter, as well as to create an additional associated record to this letter.
Spam
Emails are automatically move to the "Spam" folder if the message header contains the option x-spam-flag=YES
gMail IMAP
To receive email use next settings:
Mail Server: imap.gmail.com:993/imap/ssl
Mailbox: INBOX
Username and email: enter your gmail email
Password: your gmail password
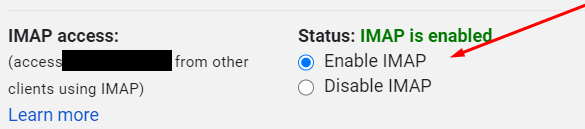
Also IMAP should be enabled in gmail settings
gMail SMTP
Use the following settings to send emails vial gMail SMTP:
SMTP Server: smtp.gmail.com
SMTP Port: 465
SMTP Encryption: ssl
SMTP Login: your gmail login
SMTP Password: your gmail password